Decadent Tiramisu Truffles Recipe
Introduction
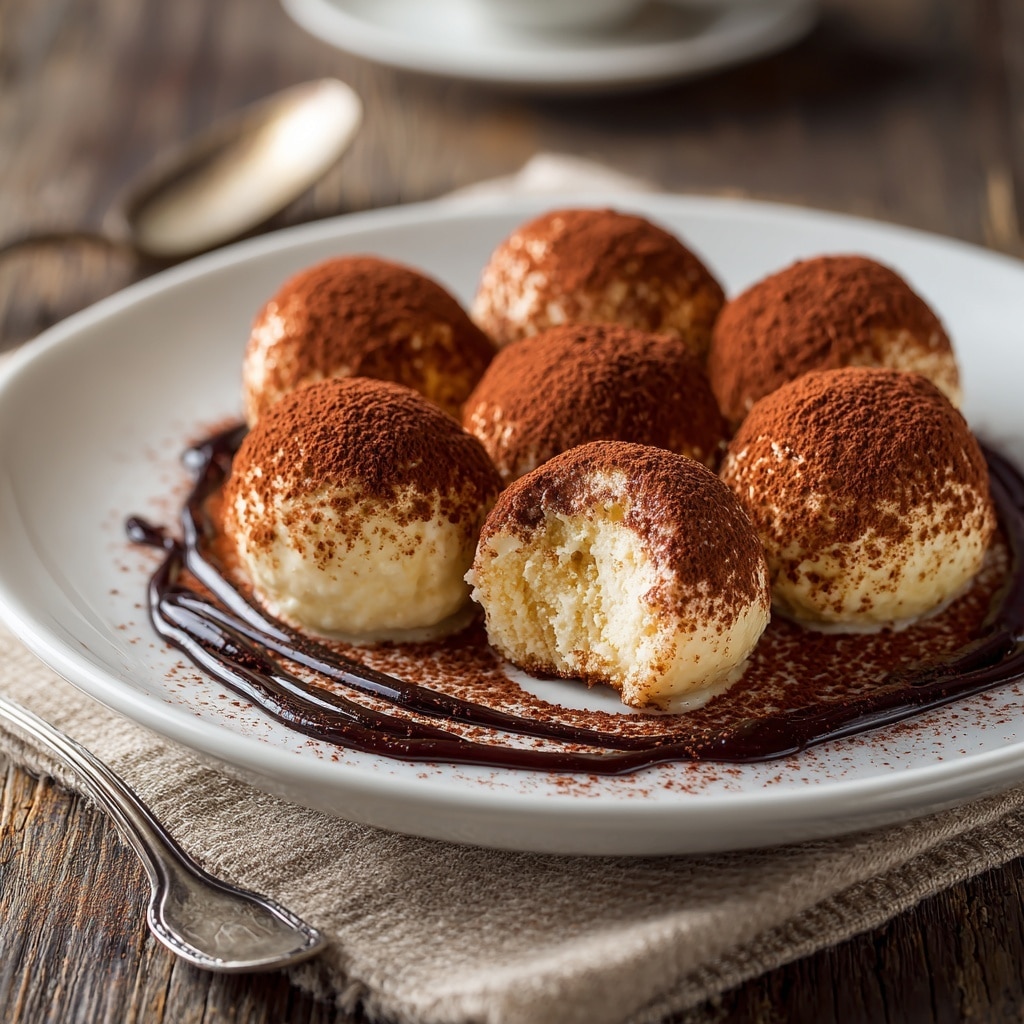
Tiramisu truffles are a delightful bite-sized treat that captures the rich flavors of classic tiramisu in a convenient, no-bake form. These creamy, coffee-infused truffles make a perfect dessert or gift for any occasion.
Ingredients
- 1/2 cup mascarpone cheese
- 1/2 cup cream cheese
- 1/2 cup sugar
- 2 tablespoons espresso or strong coffee
- Cocoa powder for dusting
Instructions
- Step 1: In a mixing bowl, combine the mascarpone cheese, cream cheese, sugar, and espresso. Stir until the mixture is smooth and well blended.
- Step 2: Using your hands or a small scoop, form the mixture into small balls about one inch in diameter.
- Step 3: Place the truffles on a baking sheet lined with parchment paper and chill in the refrigerator for at least 2 hours to firm up.
- Step 4: Before serving, dust the chilled truffles generously with cocoa powder for an authentic tiramisu finish.
Tips & Variations
- For a boozy twist, add a tablespoon of coffee liqueur to the mixture before chilling.
- If you prefer a sweeter truffle, adjust the sugar to taste.
- Roll the truffles in finely chopped chocolate or crushed ladyfinger cookies for added texture.
Storage
Store tiramisu truffles in an airtight container in the refrigerator for up to 3 days. Allow them to come to room temperature for a few minutes before serving to enhance their creamy texture.
How to Serve
Serve this delicious recipe with your favorite sides.
FAQs
Can I use instant coffee instead of espresso?
Yes, strong instant coffee can be used as a convenient substitute. Just dissolve it in a small amount of hot water before mixing.
Can tiramisu truffles be frozen?
They can be frozen for up to 1 month. Thaw in the refrigerator before serving to maintain their texture and flavor.
PrintDecadent Tiramisu Truffles Recipe

These Tiramisu Truffles are a delightful bite-sized dessert combining the creamy richness of mascarpone and cream cheese with the bold flavor of espresso. Coated in a dusting of cocoa powder, they capture the essence of classic tiramisu in a convenient truffle form, perfect for parties or an elegant treat.
- Prep Time: 15 minutes
- Cook Time: 0 minutes
- Total Time: 2 hours 15 minutes
- Yield: Approximately 24 truffles 1x
- Category: Dessert
- Method: No-Cook
- Cuisine: Italian
- Diet: Vegetarian
Ingredients
For the Truffle Mixture
- 8 oz (225g) mascarpone cheese
- 4 oz (115g) cream cheese, softened
- 1/2 cup (100g) granulated sugar
- 1/4 cup (60ml) strong brewed espresso, cooled
For Coating
- Unsweetened cocoa powder, for dusting
Instructions
- Prepare the Mixture: In a mixing bowl, combine the mascarpone cheese, cream cheese, sugar, and cooled espresso. Beat or whisk until the mixture becomes smooth and fully incorporated, ensuring no lumps remain.
- Shape the Truffles: Using a small spoon or melon baller, scoop the mixture and roll it between your palms to form small, bite-sized balls, approximately 1 inch in diameter.
- Chill the Truffles: Place the rolled balls on a baking sheet lined with parchment paper and refrigerate for at least 2 hours to help them firm up and hold their shape.
- Coat with Cocoa Powder: After chilling, roll each truffle in unsweetened cocoa powder until fully coated, then place them back on the parchment-lined tray and keep refrigerated until serving.
Notes
- Use fresh, strong espresso for the best tiramisu flavor. Instant espresso powder can be used as an alternative if brewed coffee is unavailable.
- For a boozy twist, add 1 tablespoon of coffee liqueur or rum to the cheese mixture before mixing.
- Keep the truffles refrigerated and consume within 3-4 days for optimal freshness.
- If the mixture is too soft to shape, chill it for an additional 30 minutes before rolling.
Keywords: tiramisu truffles, easy tiramisu bites, no-bake dessert, mascarpone truffles, Italian dessert, espresso truffles