30-Minute Artisan Bread Recipe
Introduction
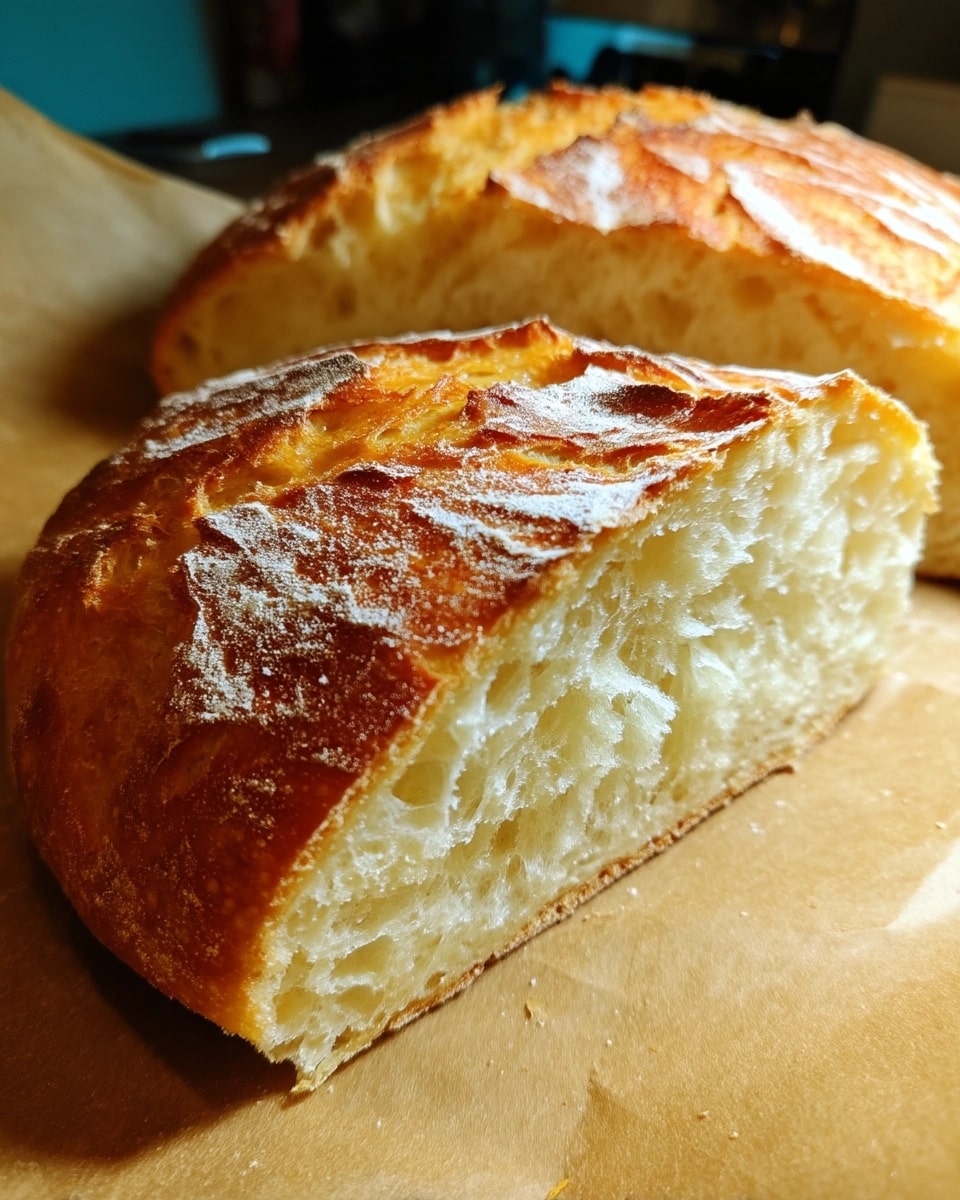
This artisan bread recipe lets you bake a crusty, flavorful loaf with just a few simple ingredients and minimal effort. Perfect for beginners, it requires no kneading and delivers bakery-quality bread at home in about 2 and a half hours.
Ingredients
- 3 cups (395 grams) all-purpose flour or bread flour
- 1/2 tablespoon Kosher salt
- 1/4 ounce instant or active dry yeast (about 2 1/4 teaspoons)
- 1 1/2 cups warm water (approx. 105°F)
Instructions
- Step 1: In a large bowl, combine the flour, salt, and yeast. Pour the warm water over the dry ingredients, making sure the water isn’t too hot to avoid killing the yeast.
- Step 2: Mix with a dough whisk, spatula, wooden spoon, or your hands until the dough is wet and sticky. Add a little more flour only if it’s too sticky to handle.
- Step 3: Cover the bowl with a towel or plastic wrap sprayed with nonstick spray. Let the dough rise at room temperature for 2 to 10 hours, or overnight for a deeper flavor.
- Step 4: Wet your hands and turn the dough onto a lightly floured surface. Without punching down or kneading, gently fold the dough’s edges into the center to form your desired shape, such as a round boule or two smaller loaves. Tuck the ends underneath.
- Step 5: Place the shaped dough on parchment paper, lightly dust the top with flour, and score 1 to 4 lines across the surface with a bread knife. Let it rest for 20 to 30 minutes.
- Step 6: Preheat your oven to 450°F and place a baking stone, pizza stone, Dutch oven, or cast iron skillet inside to heat.
- Step 7: Slide the dough along with the parchment paper onto the hot stone or into the heated vessel. To create steam for a crustier loaf, place a small pan with 1 cup of hot water or 5 ice cubes at the bottom of the oven and quickly close the door.
- Step 8: Bake for 25 to 30 minutes until the bread is golden brown and sounds hollow when tapped.
- Step 9: Remove the bread and let it cool on a wire rack for at least 30 minutes before slicing and serving.
Tips & Variations
- Use bread flour for a chewier texture and better rise, but all-purpose flour works perfectly well.
- For a more rustic flavor, let the dough rise overnight in the refrigerator instead of at room temperature.
- Experiment with adding herbs, garlic, or olives folded gently into the dough before shaping.
- Slicing the loaf when completely cooled prevents it from becoming gummy inside.
Storage
Store your artisan bread in a paper bag at room temperature for up to two days to keep the crust crisp. Avoid plastic bags, which soften the crust. To refresh, reheat slices in a toaster or oven. For longer storage, freeze slices and toast directly from frozen.
How to Serve
Serve this delicious recipe with your favorite sides.
FAQs
Can I use active dry yeast instead of instant yeast?
Yes, you can substitute active dry yeast in equal amounts. Just dissolve it in the warm water first and let it sit for 5–10 minutes until foamy before mixing with the flour.
Why is the dough so sticky? Should I add more flour?
This dough is meant to be wet and sticky to create an open crumb and soft interior. Only add a little more flour if it’s unbearably sticky and difficult to handle, but try to keep it as wet as possible for the best result.
Print30-Minute Artisan Bread Recipe

This artisan bread recipe yields a crusty, flavorful loaf with a tender crumb, perfect for sandwiches or alongside your favorite meals. Featuring a simple mix-and-rise method with minimal kneading, this bread requires only basic ingredients and a little patience for rising, delivering bakery-quality bread fresh from your oven in about 3 hours total.
- Prep Time: 15 minutes
- Cook Time: 30 minutes
- Total Time: 2 hours 45 minutes
- Yield: 12 servings 1x
- Category: Bread
- Method: Baking
- Cuisine: Artisan / French-inspired
Ingredients
Dry Ingredients
- 3 cups (395 grams) all-purpose flour or bread flour
- 1/2 tablespoon Kosher salt
- 1/4 ounce instant or active dry yeast packet (about 2 1/4 teaspoons)
Wet Ingredients
- 1 1/2 cups warm water (about 105°F)
Instructions
- Make dough: Combine the flour, salt, and yeast in a large bowl. Pour the warm water (around 105°F) over the dry ingredients. Mix everything together using a dough whisk, spatula, wooden spoon, or your hands until the dough is wet and sticky. Add a little more flour if it feels too sticky to handle.
- Let rise: Cover the bowl with a towel or plastic wrap that has been sprayed with nonstick spray. Allow the dough to rise at room temperature for 2 to 10 hours, or overnight for longer fermentation and better flavor development.
- Shape the dough: Lightly flour your hands and a work surface. Turn the sticky dough out gently without punching it down or kneading harshly. Fold the sides into the middle to shape it into your preferred form—typically a round boule or two loaves—tucking the ends underneath to create tension.
- Dust and rest: Place the shaped dough on a piece of parchment paper. Lightly dust the top with flour and score 1 to 4 lines on the surface with a bread knife. Let it rest for 20 to 30 minutes to rise slightly before baking.
- Preheat oven and bakeware: Preheat your oven to 450°F (232°C). Place a baking stone, pizza stone, Dutch oven, or cast iron skillet inside to heat thoroughly.
- Bake the bread: Slide the dough with the parchment paper onto the preheated stone or pan. For a crustier loaf, add 1 cup of hot water to a small broiler pan or place 5 ice cubes in the bottom of the oven and close the door quickly to trap steam. Bake for 25 to 30 minutes until the crust is a rich golden brown color.
- Cool and serve: Remove the bread from the oven and allow it to cool on a wire rack for at least 30 minutes before slicing. Store leftover bread in a paper bag to keep the crust crisp without softening.
Notes
- Using bread flour instead of all-purpose flour will yield a chewier crumb texture.
- The longer rise time enhances flavor through fermentation but can be adjusted based on your schedule.
- Do not over-knead the dough; gentle folding preserves the airy, open crumb.
- Adding steam during baking creates a crisp, crunchy crust.
- Allow the bread to cool fully to prevent gummy texture when slicing.
- Store bread in a paper bag to maintain crust texture; avoid plastic bags which soften the crust.
Keywords: artisan bread, homemade bread, crusty bread, no-knead bread, easy bread recipe, baking bread at home